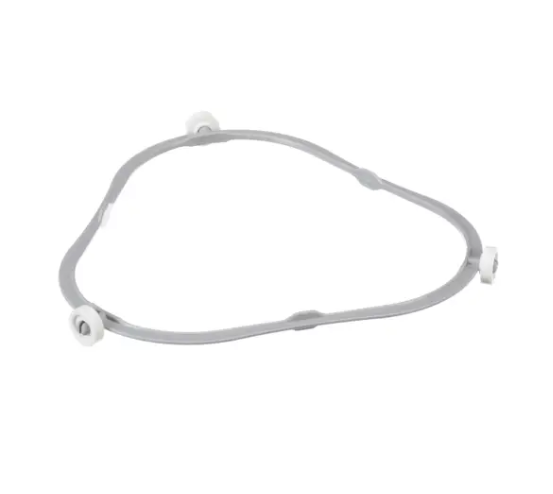
Whirlpool W11213915 Microwave Ring-turn
Description
The Whirlpool W11213915 Microwave Ring-turn is an innovative device that improves microwave cooking efficiency. This rotating ring, which is designed to fit perfectly inside compatible Whirlpool microwave models, guarantees even heat dispersion for evenly cooked food. It maintains even heating throughout and gets rid of hot spots by rotating the food while it cooks. This gadget ensures reliable results every time, whether it is being used for cooking new meals, defrosting frozen goods, or warming up leftovers. With the Whirlpool W11213915 Microwave Ring-turn, you can wave to unevenly heated food and welcome to properly cooked dishes. Its convenience and accuracy will enhance your cooking experience.
This Part Fits the Following Models
168 models| Manufacturer Name: WHIRLPOOL Product Number: W11213915 OEM Part Number: W11213915 Product Description: Ring-Turn |
Choose the best Home Appliance parts and supplies from HnKParts!
Same Day Shipping
Best Quality And Best Price
Wide Range of Inventory
Best Customer Service
Have More Questions or Need Help to Place The Order?
Reach us at (866)723-0907 or [email protected]
Step 2: The lid of the washing machine is carefully detached by lifting it away from the top section.
Step 3: A flat head screwdriver is employed to take out the four screws that secure the front panel.
Step 4: The front panel is removed from the washing machine by pulling it away.
Step 5: The ring-turn mechanism along with its mounting location on the rear side of the main tub is identified.
Step 6: A Phillips head screwdriver is utilized to extract the two screws that fasten the mounting plate.
Step 7: The mounting plate along with the ring-turn mechanism is withdrawn from the washing machine.
Step 8: The old ring-turn is carefully detached from its mounting position and set aside.
Step 9: The new Whirlpool W11213915 ring-turn is inserted into the mounting plate.
Step 10: The mounting plate is fastened back with the two screws that were previously removed.
Step 11: The front panel is reattached to its initial position and secured using the four screws that were taken out earlier.
Step 12: The lid is gently repositioned back onto the top of the machine.
Step 13: The washing machine is reconnected to the power source by plugging it in or turning on the circuit.
Step 14: A test is conducted on the washing machine to verify that the new ring-turn functions correctly.
Please remember, these instructions are served as a general reference and should always be used alongside the manufacturer's manual, if available.
Customer Reviews
No reviews yet. Be the first to write one!
Write a Review
We strive to provide our customers with a hassle-free and efficient shopping experience. Our shipping policy ensures the timely delivery of your orders and complete customer satisfaction. View More
We are committed to ensuring your complete satisfaction with every purchase. We understand that circumstances may arise where you must return a product or request a refund. If for any reason you are not satisfied, you may return the item(s) according to the terms outlined below. View More
This Payment Policy outlines the terms and conditions governing all payments made for products purchased through our website. By making a purchase, you agree to be bound by this Payment Policy. View More