The store will not work correctly in the case when cookies are disabled.
We collect user information to provide a better user experience and protect the security of our website. By continuing to use our website, you acknowledge the use of cookies.
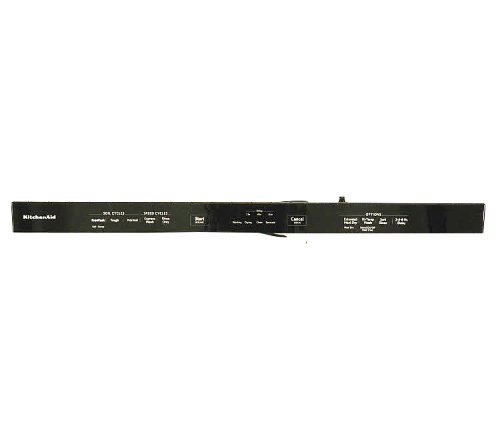
The Whirlpool W11162736 Dishwasher Control Panel is used to operate by communicating with the dishwashing appliance components to select wash cycles, adjust temperatures, and set delays. As soon as the cycle is selected the signal is sent to activate different sections such as the pump, heating element, and spray arms. The benefits of it are its user interface, which makes the operation easier and the user experience better, it also provides efficient washing performance, cleaning the dishes, and using less energy.
What maintenance is required for the Whirlpool W11162736 Control Panel?
Wipe the panel to remove moisture or debris that could affect button response. Ensure all connectors are secure and contacts are clean. Run a test cycle to verify that each program starts and completes as expected.
What are common issues with the Whirlpool W11162736 Control Panel?
Cycles not starting.
Buttons not registering input.
Selected programs not activating.
Indicators or lights not responding.
Installation Steps
Step1: Turn off power at the breaker to ensure safety.
Step2: Open the dishwasher door and remove inner panel screws.
Step3: Separate the outer panel to access the control assembly.
Step4: Disconnect ribbon cables and wiring from the old panel.
Step5: Attach the new control panel and reconnect cables firmly.
Step6: Reassemble the door, restore power, and test controls.