
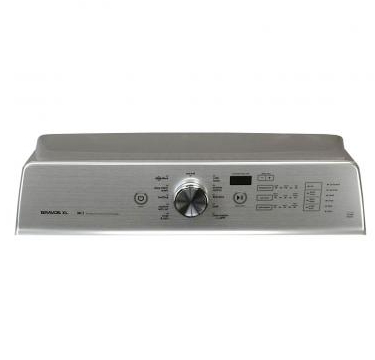
Whirlpool W11112662 Washer Control Panel Assembly

Special Price $225.68 Regular Price $251.95
In stock
Available Quantity:   25
SKU
W11112662

Product Description

The Whirlpool W11112662 Control Panel Assembly is designed to bring back the functionality of the washer. This panel enables simple adjustment of the wash cycles, water, and temperature and enhanc the performance of the machine. Operate by sending specific instructions to the washer’s internal control system to control the processes for effective washing. The panel is simple to install.
Console,
Manufacturer
https://www.hnkparts.com/media/catalog/product/w/1/w11112662_whirlpool_hnkparts.png
Manufacturer Name: WHIRLPOOL
Product Number: W11112662
OEM Part Number: W11112662
Product Description: Console

Choose the best Home Appliance parts and supplies from HnKParts!

  • Same Day Shipping

  • Best Quality And Best Price

  • Wide Range of Inventory

  • Best Customer Service

Have More Questions or Need Help to Place The Order?
Reach us at (866)723-0907 or [email protected]

Write Your Own Review
You're reviewing:Whirlpool W11112662 Washer Control Panel Assembly
Your Rating
Customer Questions
What maintenance is required for the Whirlpool W11112662 Control Panel Assembly?

Test each control selection periodically to verify commands register correctly. Keep the panel dry to prevent signal interference. Confirm indicator lights respond during operation, and unplug the washer before removing the panel to check internal wiring connections.

What are common issues with the Whirlpool W11112662 Control Panel Assembly?

  • Display failing to illuminate.
  • Settings not responding properly.
  • Cycles not starting correctly.
  • Control panel freezes intermittently.

Installation Steps

Step1: Unplug the washer to avoid risk of electrical shock.

Step2: Remove screws securing the existing control panel to the top frame.

Step3: Tilt the panel forward and disconnect the wiring harnesses carefully.

Step4: Position the new control panel onto the mounting tabs.

Step5: Reconnect all wire connectors firmly and align the panel.

Step6: Fasten the screws, restore power, and verify buttons and indicators respond correctly.
