
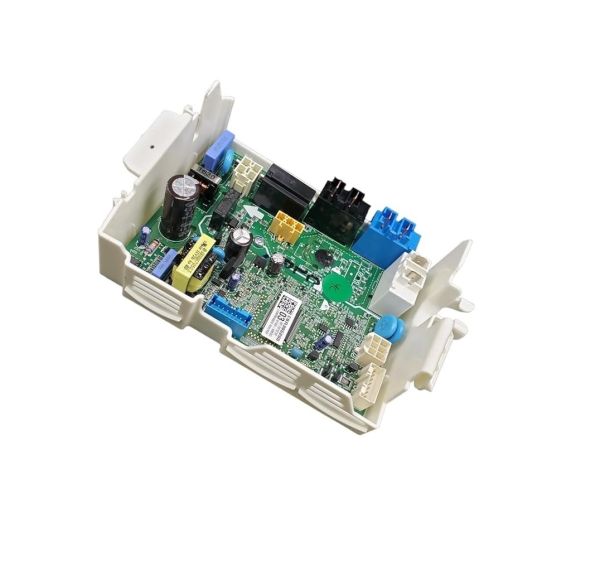
LG EBR39528803 Dryer PCB Assembly
Special Price
$177.03
Regular Price
$222.95
In stock
Available Quantity:
32
SKU
EBR39528803
Product Description
The LG EBR39528803 Dryer PCB Assembly is in charge of controlling the drying cycles through the temperature, the motor, and the sensors. It receives signals from various parts to regulate the heat and the flow of the air accurately. This coordination enhances the drying efficiency and at the same time avoids over-heating or wastage of energy. It is created for durability and performance to increase the durability of the appliances.
Manufacturer
