
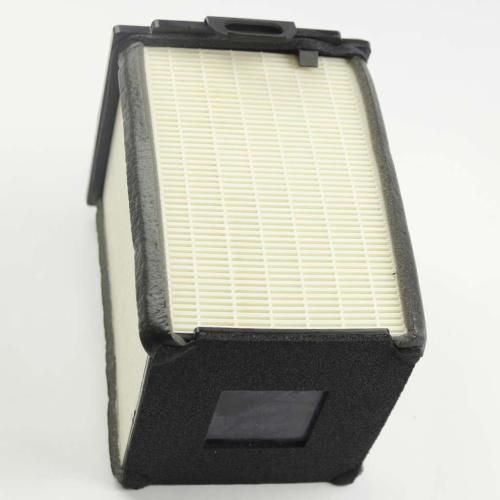
Panasonic FFV1340002S Fan Heating Element

Special Price $169.40 Regular Price $196.95
Out of stock
Available Quantity:   0
SKU
FFV1340002S

Product Description

The Panasonic FFV1340002S Fan Heating Element works by producing heat through its high resistance coil and then circulating it to the fan system of the appliance. The air that is above the heated element gets hot and circulates in the room to ensure that the required temperature is achieved. It is designed for longevity, and its efficiency is not affected as it uses less power to heat the water adequately. Its design also makes it possible to have proper distribution of heat within the appliance, increasing the efficiency of the appliance.
8"X5"X5"
Manufacturer

https://www.hnkparts.com/media/catalog/product/f/f/ffv1340002s-panasonic-hnkparts-1.jpg

This Part Fits the Following Models (1)

Write Your Own Review
You're reviewing:Panasonic FFV1340002S Fan Heating Element
Your Rating
Customer Questions
What maintenance is required for the Panasonic FFV1340002S Fan Heating Element?

Regularly inspect the heating element for dust buildup and gently clean it to maintain efficient heat transfer. Ensure electrical connections remain secure and free from corrosion or wear. Periodic checks supports prevent overheating and performance issues. Always disconnect power before performing any maintenance to ensure user safety.

What are common issues with the Panasonic FFV1340002S Fan Heating Element?

  • Reduced heating output or uneven heat distribution.
  • Electrical connection faults causing intermittent operation.
  • Overheating due to dust accumulation or airflow blockage.
  • Unusual noises or vibrations during operation.

Installation Steps

Step1: Turn off power at circuit breaker and verify no voltage using a tester.

Step2: Remove access panel of heating unit carefully, ensuring stable ladder if needed.

Step3: Disconnect old fan heating element wiring carefully.

Step4: Install new fan heating element, aligning mounts and securing firmly.

Step5: Reconnect wiring as per diagram, double-check insulation and tight terminals.

Step6: Reassemble panel, restore power, and test operation while monitoring for unusual noise or smell.