The store will not work correctly in the case when cookies are disabled.
We collect user information to provide a better user experience and protect the security of our website. By continuing to use our website, you acknowledge the use of cookies.
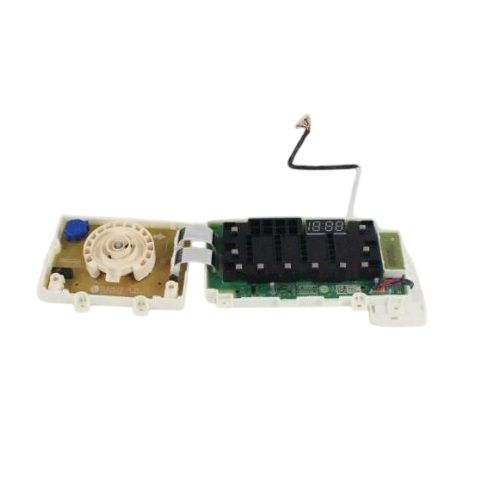
The LG EBR78770639 Washer PCB Assembly is responsible for the proper control of the operations in terms of power supply and washing cycles. It receives signals from the sensors and controls the water level, temperature and the spin speed of the drum. This component improves the washing performance by ensuring that the cycles that have been set are effectively executed.
What maintenance is required for the LG EBR78770639 Display PCB Assembly?
Regularly inspect the washer display PCB assembly for loose connections or signs of moisture. Clean gently with a dry cloth to remove dust. Ensure the washer is unplugged before inspection. Proper care prevents electrical shorts and maintains accurate display functionality.
What are common issues with the LG EBR78770639 Display PCB Assembly?
Display not lighting up or flickering.
Buttons unresponsive or stuck.
Error codes appearing incorrectly.
Inconsistent cycle information or display glitches.
Installation Steps
Step1: Disconnect power and water supply to washer for safety.
Step2: Remove top panel or control console screws to access PCB area.
Step3: Carefully unplug wiring harnesses from existing display board.
Step4: Remove mounting screws and lift out old PCB assembly.
Step5: Align new board and secure with screws.
Step6: Reconnect all harnesses firmly to correct terminals.
Step7: Reassemble panel and restore power to test display.