
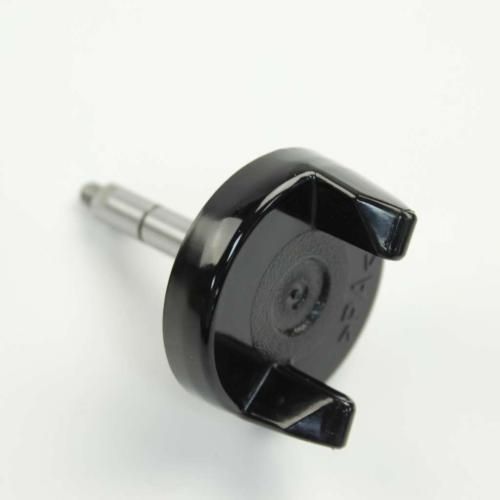
Panasonic ADE97A107 Bread Maker Lower Drive Connector

Special Price $16.53 Regular Price $18.95
In stock
Available Quantity:   6
SKU
ADE97A107

Product Description

The Panasonic ADE97A107 Bread Maker Lower Drive Connector is designed to transmit power to the kneading blade for efficient mixing of the dough to produce quality bread. Designed to fit in compatible models, helps to transport the dough smoothly, ensuring equal distribution of dough and other ingredients. This component is essential in ensuring that the performance of the machine is not interrupted in the process of kneading. This part is designed to help maintain the durability of the unit and the quality of the baked products through proper kneading.
2.4"X2.15"X2"
Manufacturer

https://www.hnkparts.com/media/catalog/product/a/d/ade97a107-panasonic-hnkparts-1.jpg
Write Your Own Review
You're reviewing:Panasonic ADE97A107 Bread Maker Lower Drive Connector
Your Rating
Customer Questions
What maintenance is required for the Panasonic ADE97A107 Connector?

Inspect the connector periodically for wear, cracks, or debris buildup and ensure it is securely aligned with the drive mechanism. Clean surrounding areas to prevent flour or residue from interfering with movement. Proper alignment and secure fitting support maintain consistent performance and prevent pressure on the motor.

What are common issues with the Panasonic ADE97A107 Connector?

  • Wear or stripping of the connector leading to poor mixing.
  • Misalignment causing uneven kneading or noise.
  • Cracking or breakage under mechanical pressure.
  • Slipping connection resulting in incomplete dough rotation.
  • Accumulation of debris interfering with smooth operation.

Installation Steps

Step1: Unplug bread maker and remove power cord; ensure unit is cool.

Step2: Remove outer base panel using screwdriver, keep screws safe.

Step3: Locate old lower drive connector and inspect alignment.

Step4: Detach worn connector carefully from motor shaft and coupling.

Step5: Fit new connector securely onto drive shaft.

Step6: Reassemble housing and tighten screws evenly.

Step7: Test unit briefly on empty cycle.

Step8: Avoid plugging in until fully reassembled and secured.